Self-Developing Tips with @mihalywulfenmusic
6 Share TweetMihaly (@mihalywulfenmusic) rekindled his love of film photography with the help of his girlfriend — who is also a photographer — and shared her Diana F+ with him a few years back. This eventually led them to venture into film developing and scanning, an analogue creative process they could both share in and grow with together.
Here, Mihaly shares five tips every novice film photographer should be aware of before starting on their own self-developing journeys:


1. Shoot over 15-20 rolls in a year? Self-developing is the way to go
Budget-wise, if you are someone who goes through 15+ rolls in a year, the better financial decision you could make for your film practice and overall analogue growth is to build a habit of developing films on your own. Though engaging in any new analogue aspect may be a bit slow at first and merit some bumps in the road, the benefits of self-developing are unmatched in such a way that you have full control over your photo developmental process and the overall look of your image.
However, it must be important to note that the chemicals used for film developing are harmful to the environment, thus, proper storage and disposal procedures must be followed for the safety of everyone and everything.
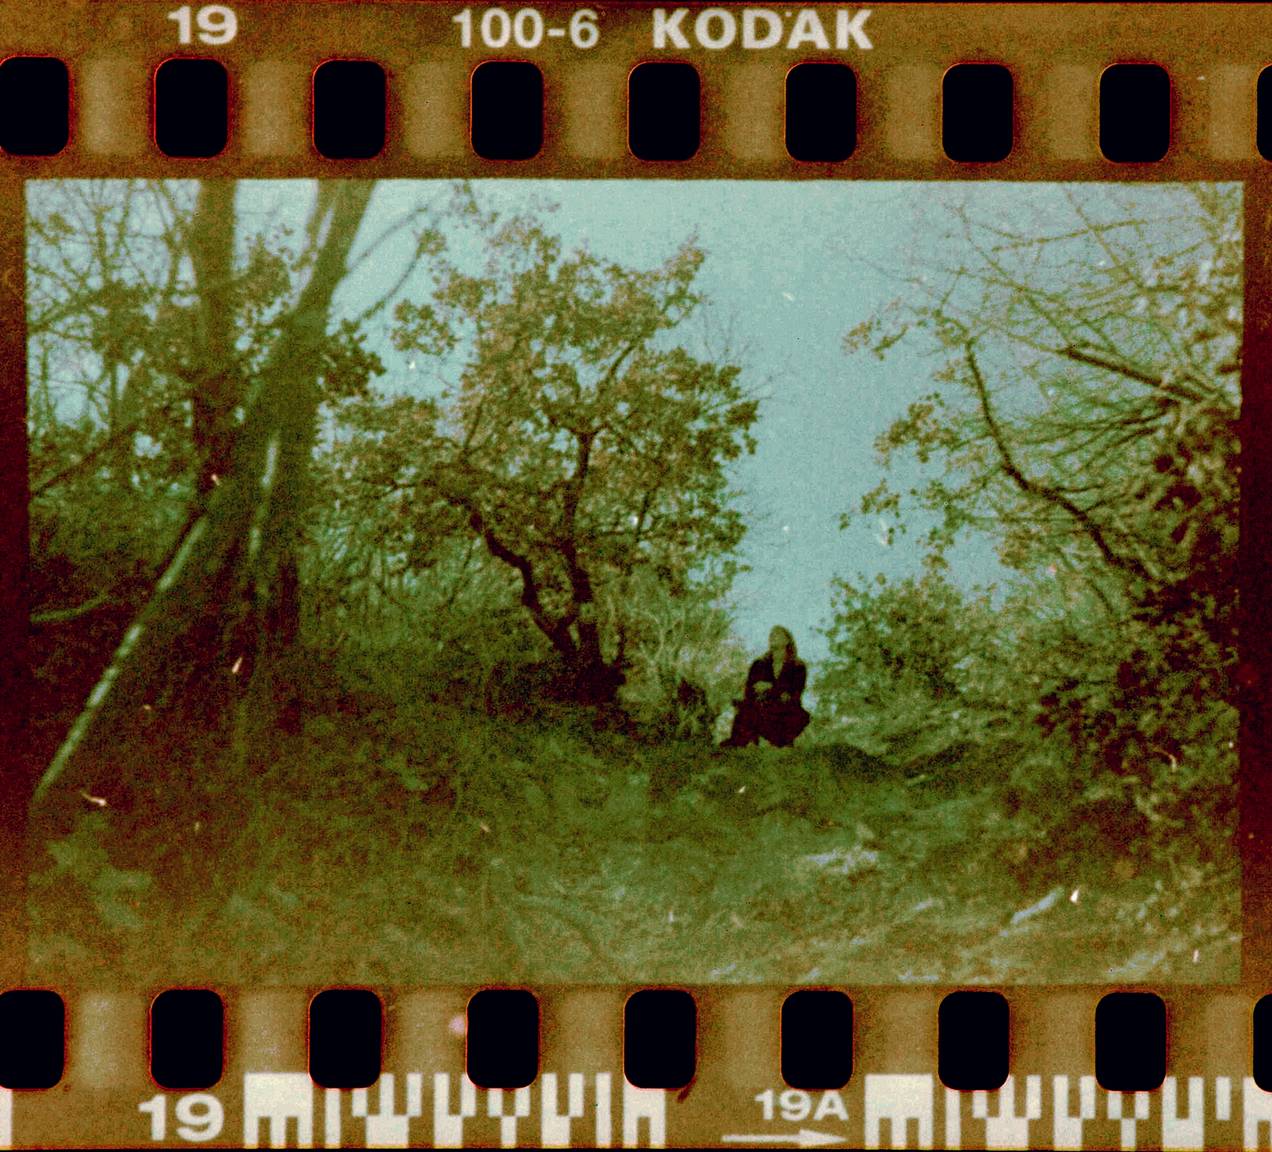
The first three photos below (row 1) were shot on a Gomz Lubitel with expired Lomography Earl Grey 100, self-developed and scanned by Mihaly.


2. Practice spooling negatives
Building muscle memory is key to a “successful” film-developing routine. Do not underestimate the seemingly “simple” action of spooling your negatives. The fine and tedious action could be practiced before bringing in the chemicals by spooling the negatives onto the spools of the developing tank in light (a.k.a with available light), and then in complete darkness with a developed but uncut negative.
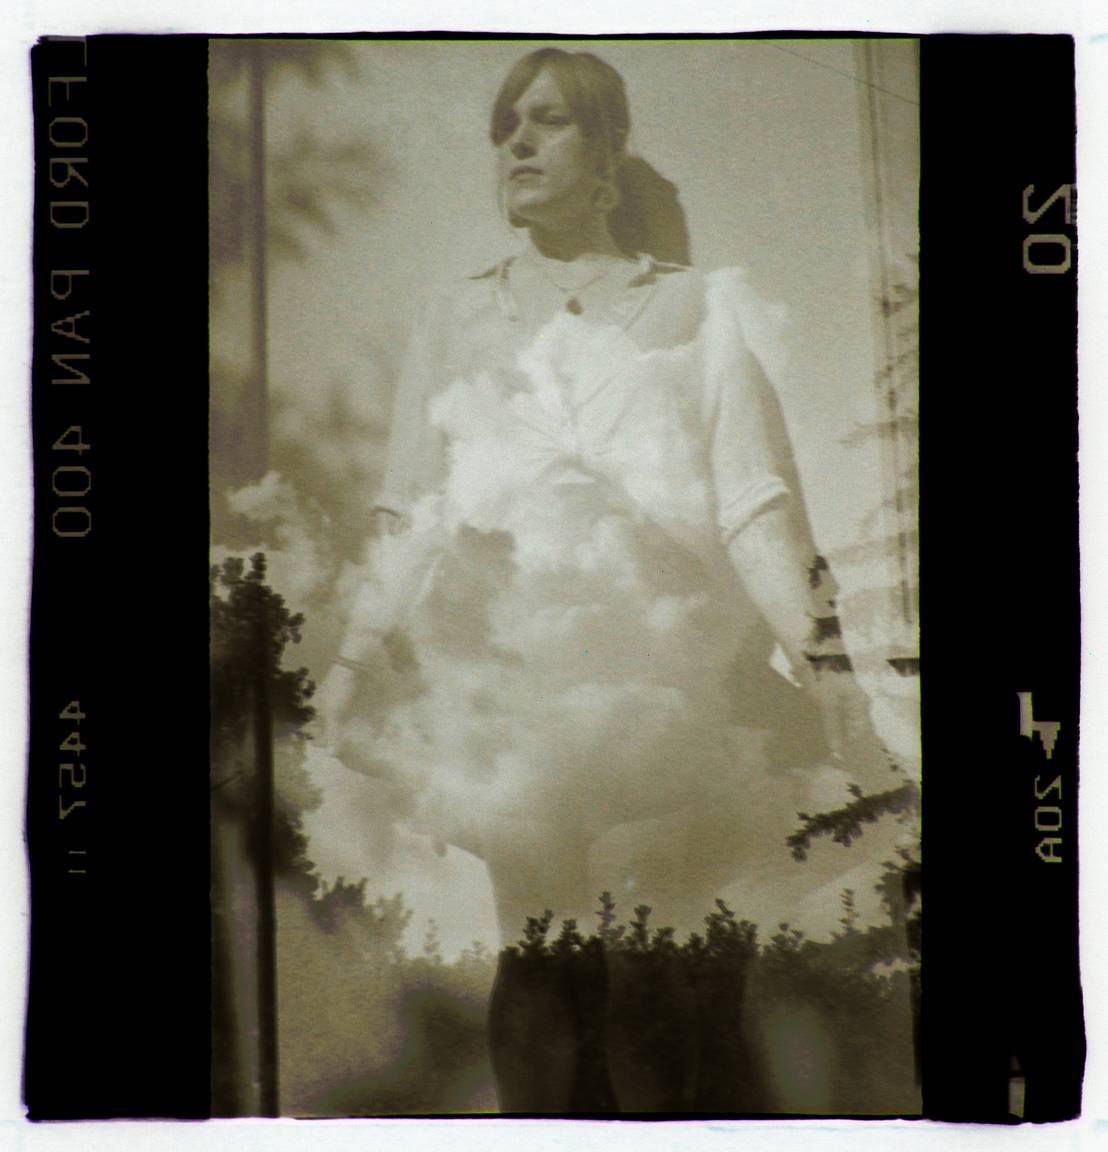
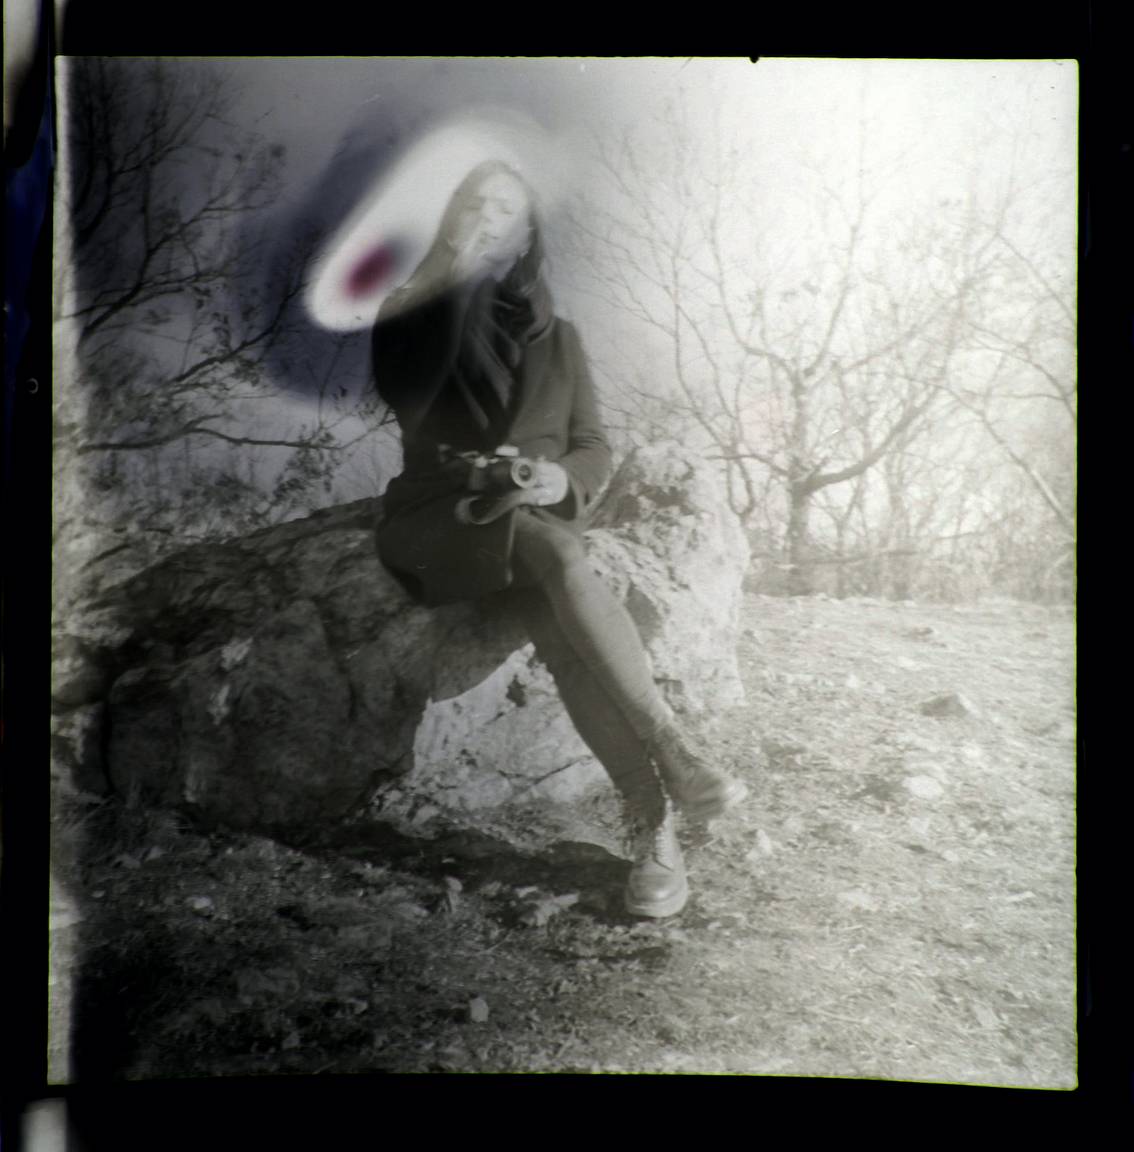
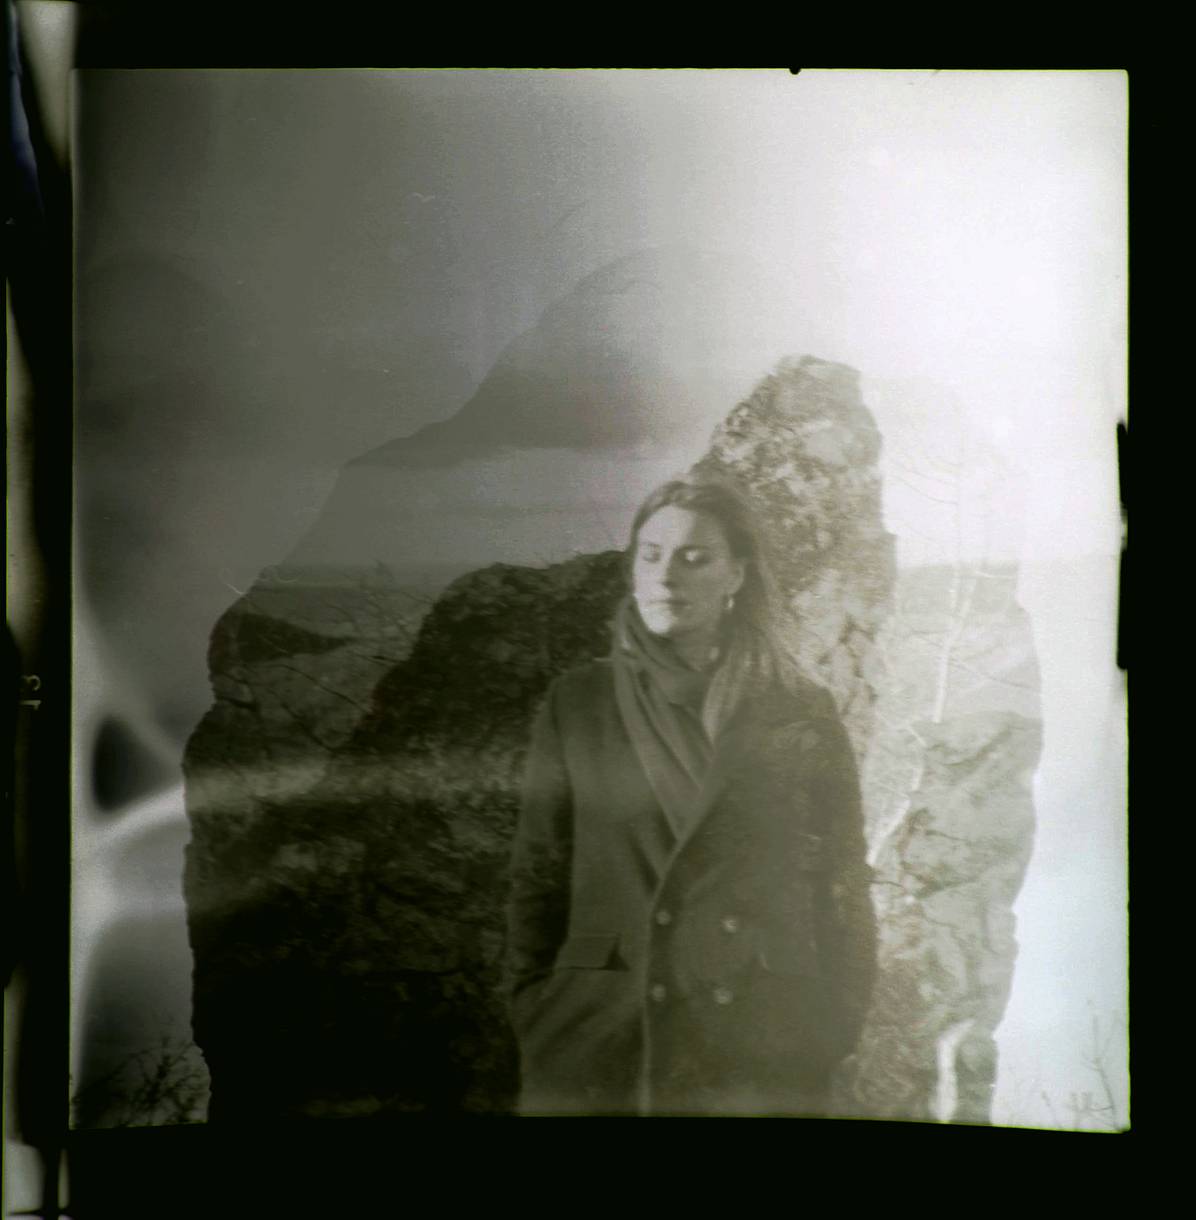
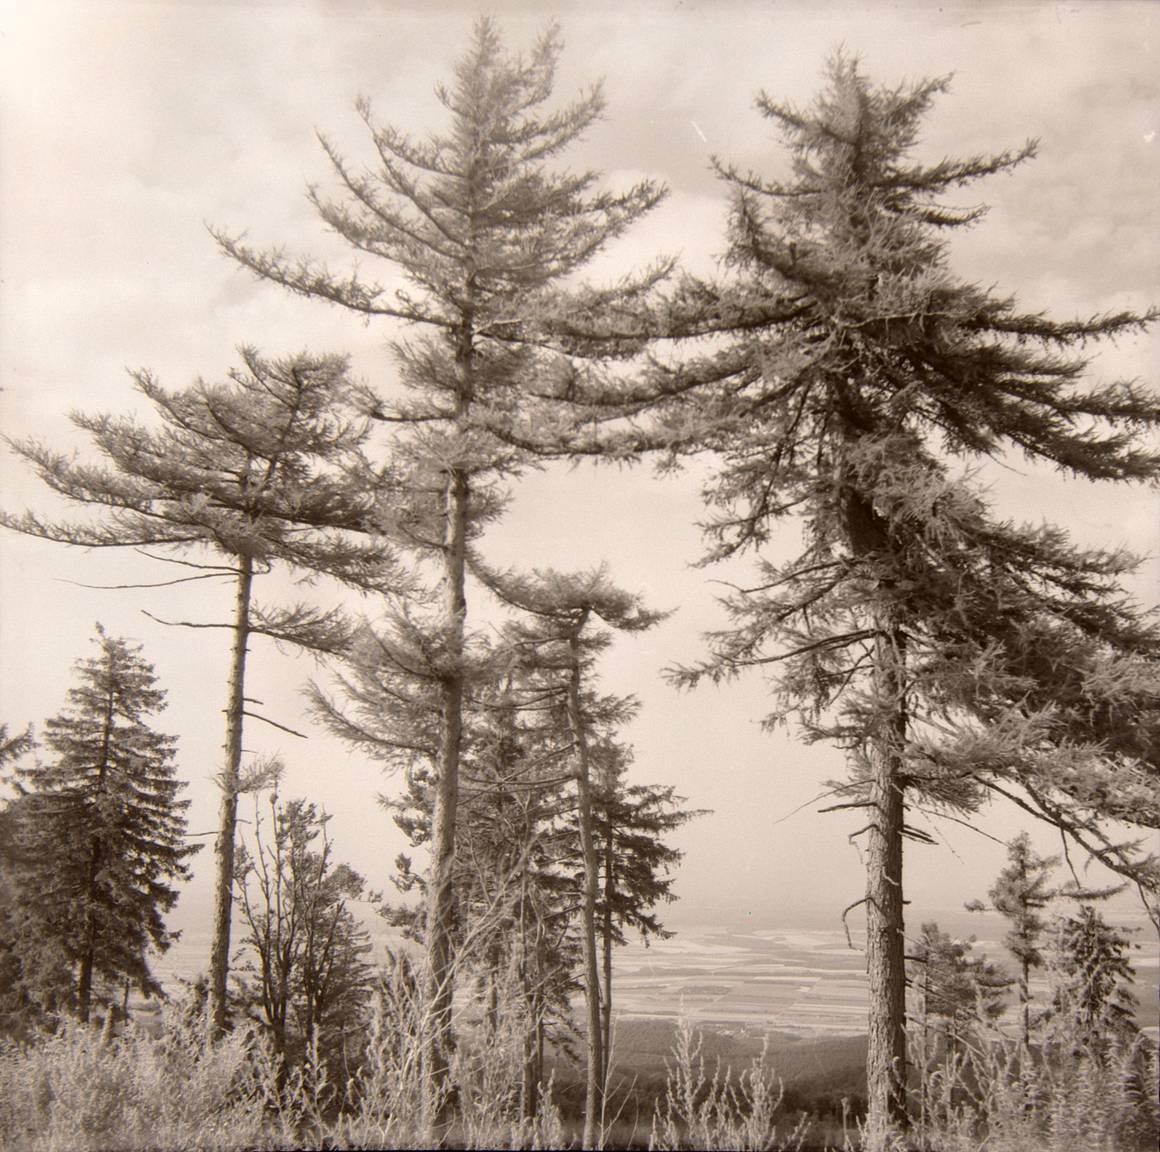
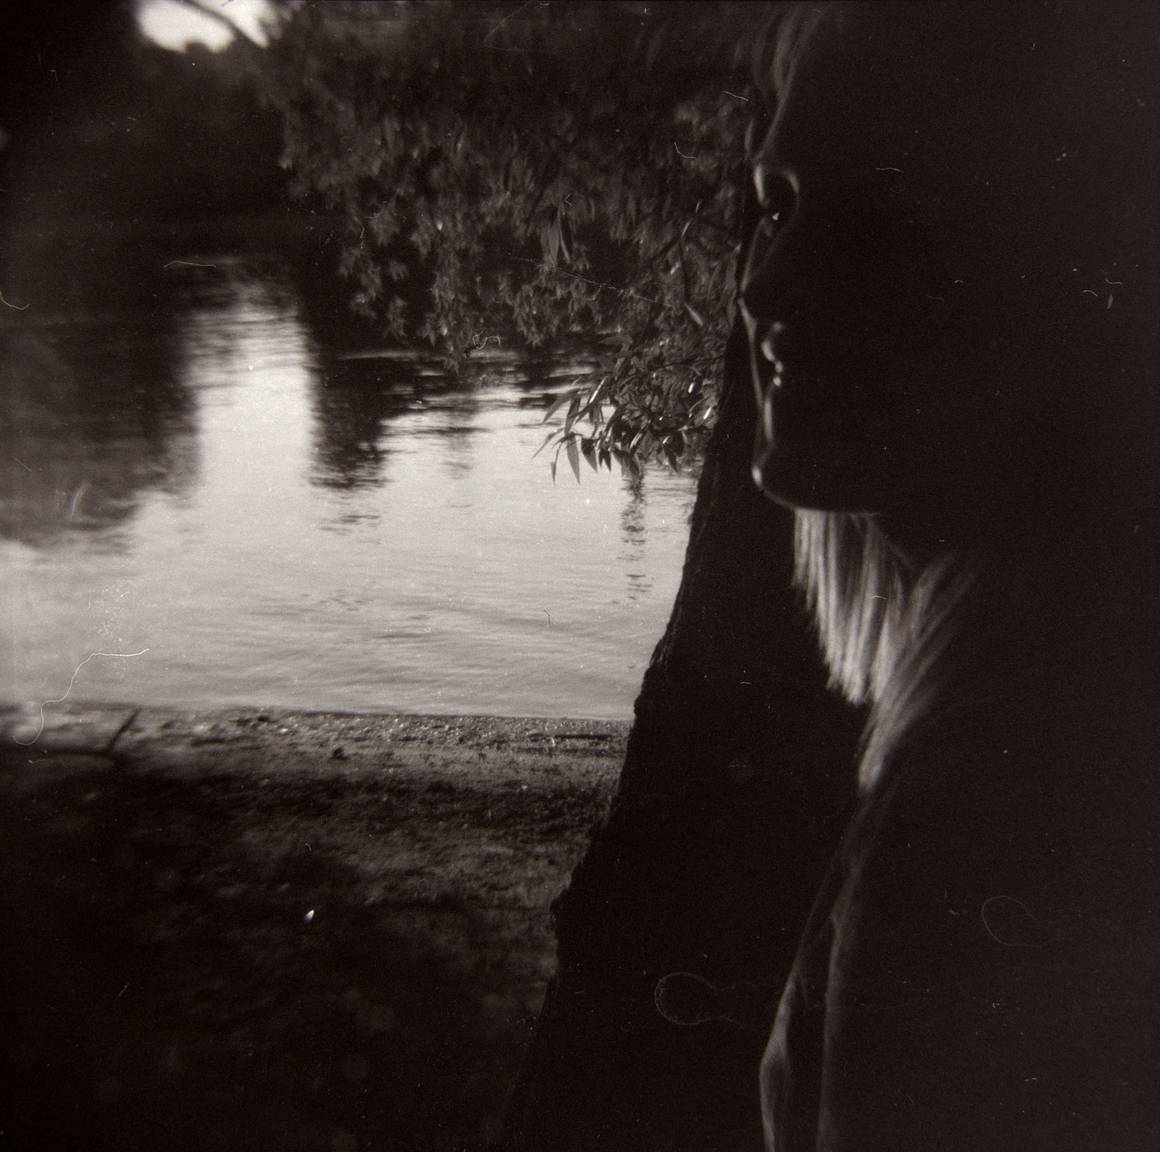
The photos below showcase Mihaly's film self-development journey, from rookie "mistakes" to outdated chemicals, with the first three photos having damp negatives even before the developing phase and had already dissolved some of the emulsion off of the photographs due to a mix-up in the specific film format developing tanks (accidentally placed a 120 and 35 mm film into a developing tank meant for two rolls of 35 mm film), and a series of experimental portrait photographs developed as shot with expired film rolls using 'weaker' chemicals. The learning curve may be a bit tough at times, but there is no doubt about the unparalleled sense of fulfillment and creative solutions the act of film self-developing can bring.


3. Prepare scissors and be precise
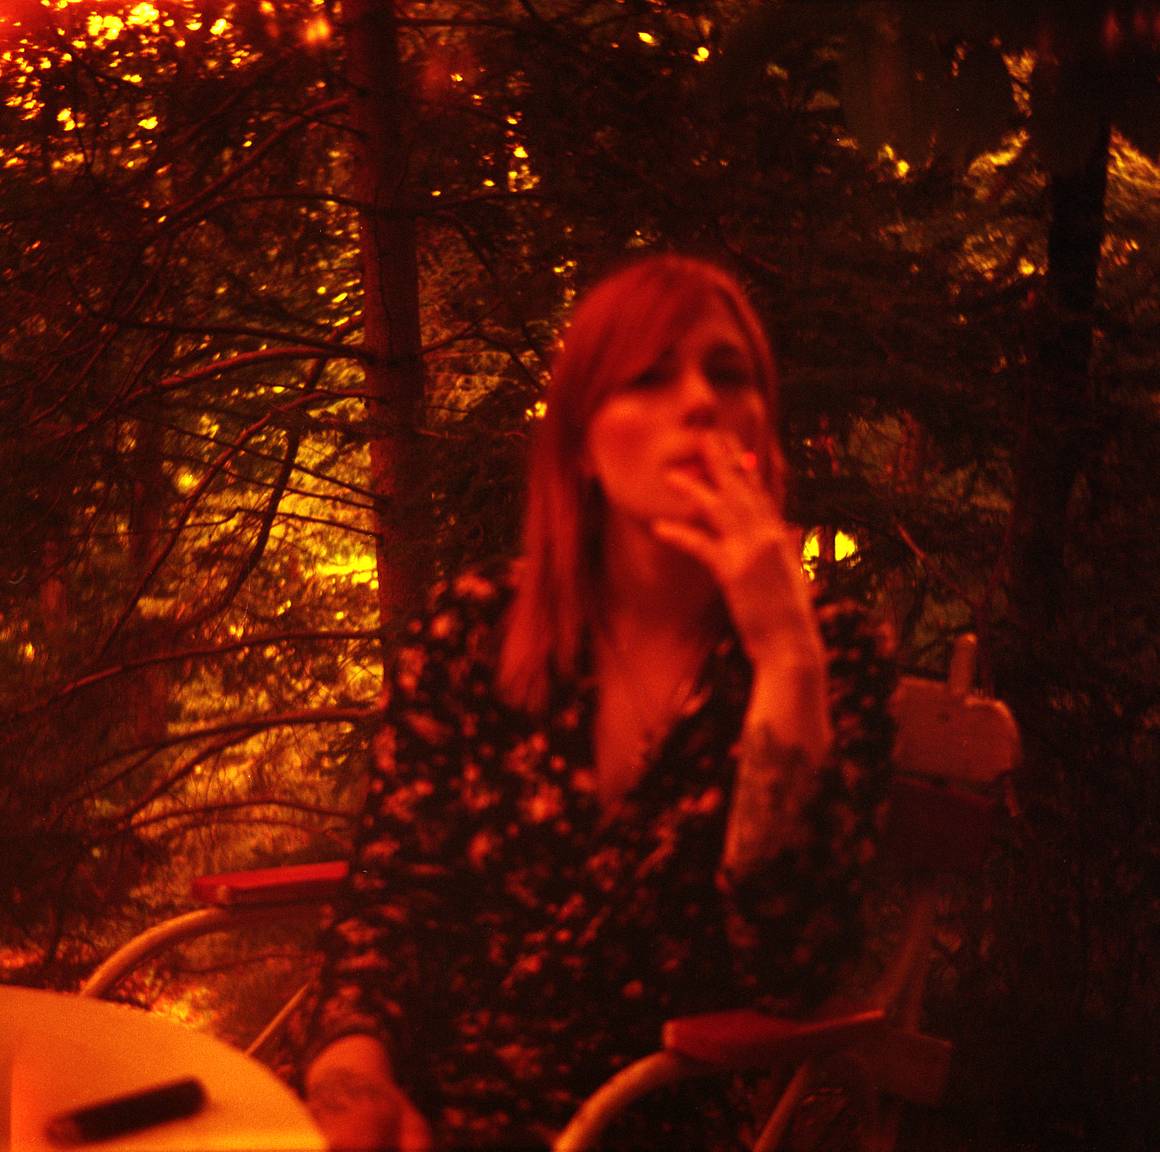
Trusting in the materials part of your self-developing film kit – including the supplementary tools – is just as important as trusting your gut. Scissors are needed for this part of the process: unloading the 35 mm film cassette in complete darkness. Mihaly recommends scissors with blunt points so that you are less likely endure to any cuts.
The photos that Mihaly shared provide hints about his current musical and creative state. Many of the photos were shot using expired film rolls and developed with 'weaker' chemicals.


4. Keep the shelf life of chemicals in mind
Developing chemicals have a shelf life that can be stretched up to a certain point when kept under cool and dimly lit conditions. It’s recommended the bottles be segmented and made airtight. It’d help if you maintained an active log that takes note of the expiration dates of the chemicals and tracks their remaining days, weeks, or months.
The two photos below were both shot with the Earl Grey B&W 120 ISO 100 and self-developed by Mihaly.

5. Do a chemical test run
Not sure whether your chemicals still work? Mihaly suggests to try developing a short piece of undeveloped film in them. Note that when working with black and white film, you can usually develop with the same diluted chemicals for about 4-5 times if you compensate for the weakening of them with longer developing times .
Running a trial developing round can save you a roll of film that would otherwise get wasted with dead developing chemicals, since you can’t stretch the developing solution of C-41 color films. (But know that you can replenish them! It’s recommended to do further research on how that method works). If you’re still not sure on the results, it's best to check if your chemicals still work with tip #4.
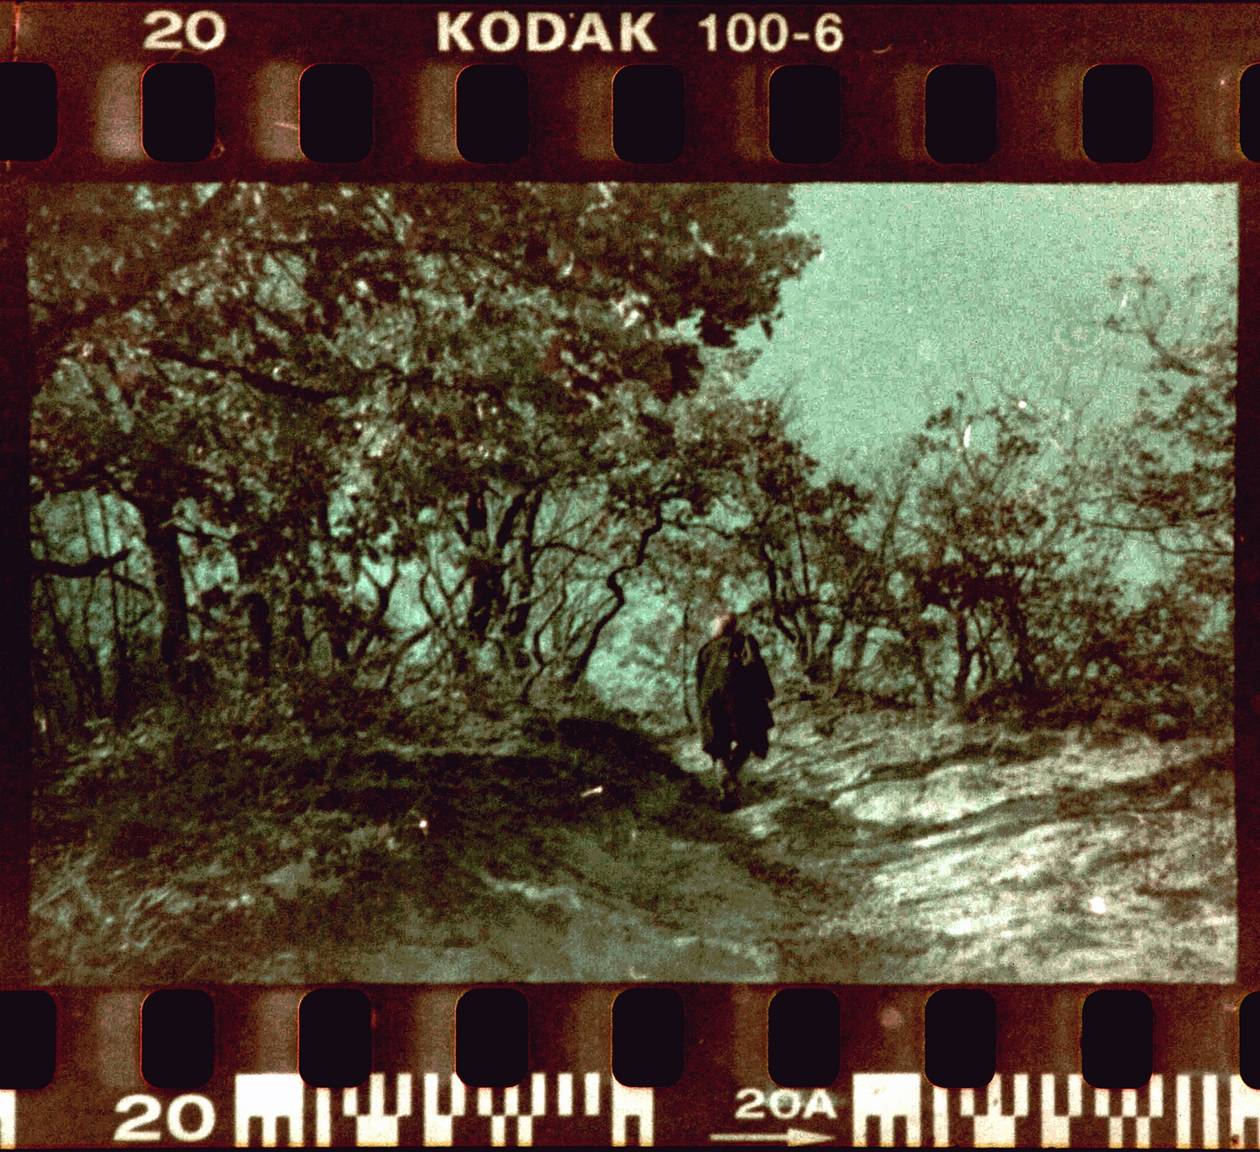
All six photos below were shot on a Lubitel 166, with the first row of photos developed in a film lab located in Budapest, while the second row of photos were self-developed. Although Mihaly has yet to try self-developing with color-shifting film, it’s something he has his eyes set on trying out next.


Thank you to Mihaly for generously sharing his film self-developing experiences and tips with us! See his collection of medium format film photos on his LomoHome.
written by macasaett on 2024-01-02 #tutorials #film #medium-format #120 #experimental #tipster #self-development


No Comments